
Health Check Configuration
The Health Check system allows you to monitor the availability and health of your service by configuring automatic checks. Here is a guide to configure the different fields:
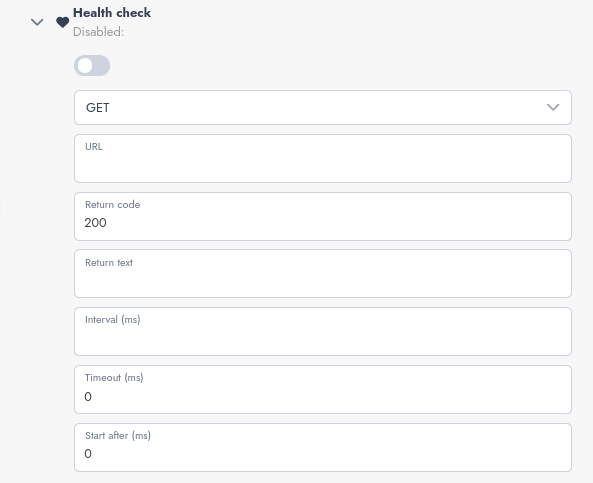
Configuration Fields
- Enable/Disable
- "Disabled" button: Enables or disables the Health Check system. When disabled, no health checks will be performed.
- HTTP Method
- Field: Select the HTTP method to use (e.g., GET, POST, PUT, DELETE). Default: GET.
- URL
- Field: Specify the URL to check. Example:
http://localhost:8080/health.
- Expected Response Code
- Field: Set the expected HTTP code to consider the check successful. Default: 200.
- Expected Response Text
- Field (optional): Specify the expected text in the response for the service to be considered healthy. Leave empty to skip this check.
- Interval (ms)
- Field: Set the time interval (in milliseconds) between successive checks. Example: 5000 (5 seconds).
- Timeout (ms)
- Field: Specify the maximum time (in milliseconds) to receive a response before a check fails. Example: 2000 (2 seconds). Default: 0 (no timeout).
- Startup Delay (ms)
- Field: Specify the time to wait (in milliseconds) after the service starts before starting the checks. Example: 1000 (1 second). Default: 0 (immediate start).
Configuration Example
For an application listening on http://localhost:8080/health, you can configure:
- HTTP Method: GET
- URL:
http://localhost:8080/health - Expected Response Code: 200
- Interval: 5000
- Timeout: 2000
- Startup Delay: 1000
Notes
- Ensure that the provided URL is accessible from the system performing the checks.
- Make sure the interval and timeout are suitable for your application to avoid unexpected failures.